I'm no expert at all when it comes to scrapbooking and I didn't even much like the final result on this page but I figure the details might provide some inspiration or knowledge for someone then cool!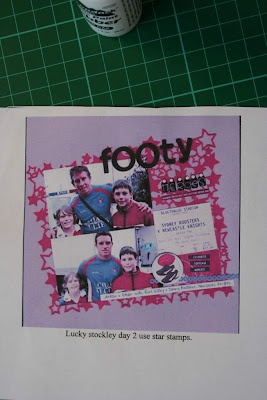
I started out this LO with an idea to scraplift this footy page from a magazine. I originally thought I could use Kaiser felt to replicate the stars. And then I thought I could stamp the stars and cut them out and stick them behind the photos. But in the end I went with using a 12 x12 die cut sheet to create my background (I picked it up at the Warehouse ans it was still perfectly useable when I was done- and had an added funky texture from the paint.). I used Adirondack Snow Cap paint dabber but you could easily use any thickish acrylic paint with a normal or foam brush.
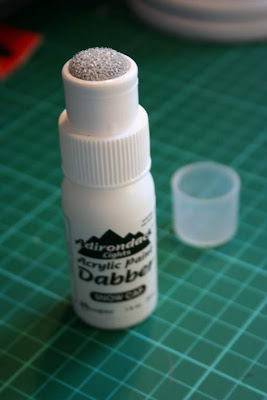
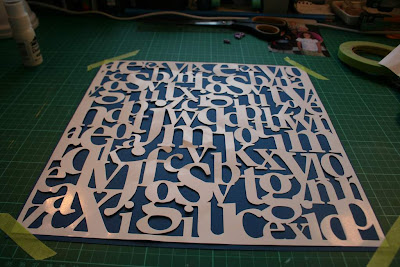
The first step is to stick your mask in place with some low tack adhesive. I used masking tape.
Next use the dabber or brush to apply the paint in a dabbing motion. If you pounce rather than swipe or brush on the you will be less likely to rip, or shift the mask or to get bleeding under it.
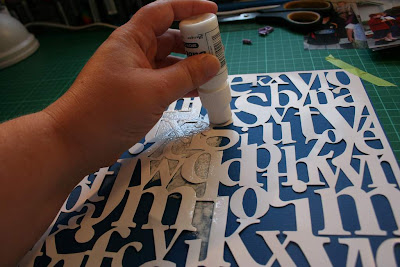
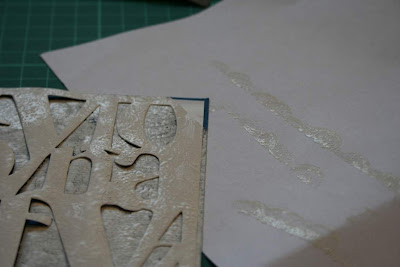
Continue until you have covered the area you intend. Then carefully lift two corners of the mask to check your results. If you leave a couple of areas still taped down you can easily replace the mask on the card if you change your mind (like I did) or want to do a second coat of paint.
I decided I wanted the whole piece of card covered so laid my mask back down and continued to dab my paint down out to the edges.
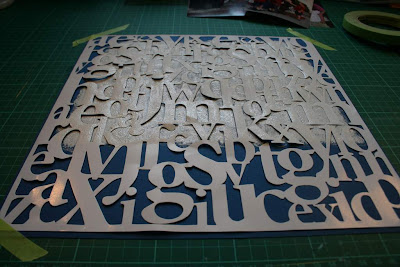

I used a piece of scrap paper under the edges to keep my table clean. Lifting the tape of the corners one by one so it didn’t shift too much.
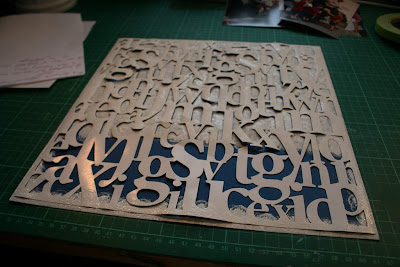
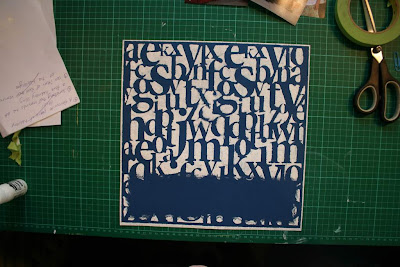
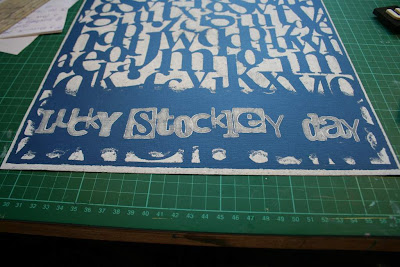
Here’s the completed page mask on and then mask removed, You can see I have left a space for my title. At this point I left it for the paint to dry.
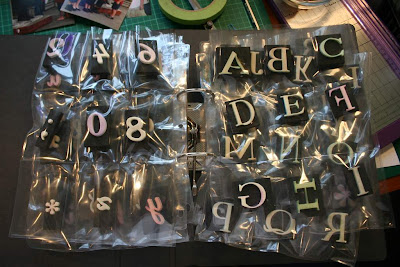
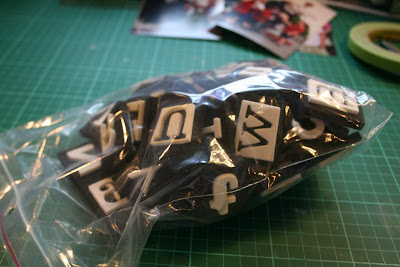
Here are two of the options I have for storing my foam stamps. The folder on the left utilises trading card holders which you can get at most stationary stores. It is easy to see what you have and to find what you want but takes up a lot of space and sometimes the stamps try to escape their pockets. The other option is just a zip lock bag which takes up less space but you really need to dump all the stamps out to find them!
With so many teachers having such a passion for presentation skills this technique should be taught to all kids!
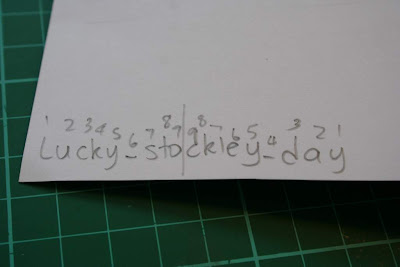
When you are making a title write the whole thing down on scrap paper making sure to mark the spaces as well. Starting at the start and end of the line number the first and last letters with the number 1 and the 2nd and 2nd last with number 2 and so on till you meet the middle. Make sure to assign the gaps a number as if they were letters also. If you have an uneven number then that letter will be your midpoint. If not then the point between the highest numbers will be, in between the o and c on my title. If you have a couple of ‘i’s or ‘l’s on one side you may want to fudge your centre a little more to the opposite side because those letters are so skinny they don’t quite take up the space of a regular letter- W can work the opposite way.
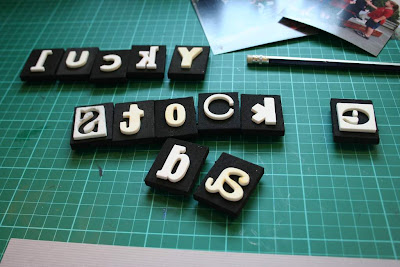
I laid out all the stamps for my title and I could see that it was going to be a tight fit for the available space so I decided to stamp a sample first.
I also like to have all my stamps laid out as I am less likely to make a spelling mistake that way.
A centre finder ruler is a fantastic tool to have when it comes to doing titles! I placed mine on my sample card with the 0 right in the centre because I knew my title would span almost my whole page.
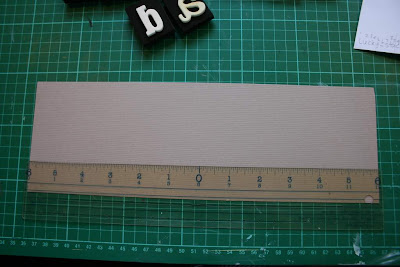
Then I started stamping from the right of centre of my LO- the ‘C’ in Stockley which I figured out above. I like to get down close to my LO and look side on to ensure I am placing my stamps correctly. I find if I eyeball it from above that I over estimate the gap.
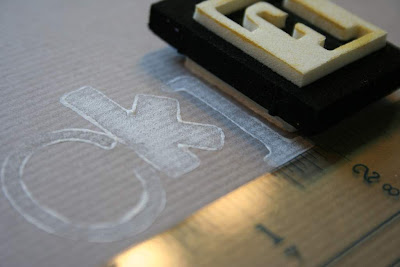
I stamped the right hand side of my title and then went back to the centre and worked right to left to stamp the left hand side.
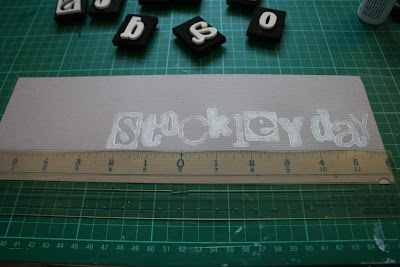
By comparing my sample to the space on my LO I could see it was going to be very tight. So as I was using a ransom type set I swapped some letters out for skinnier ones.
I could also see that I needed to shift my center left a little as I had more space on the left hand side.
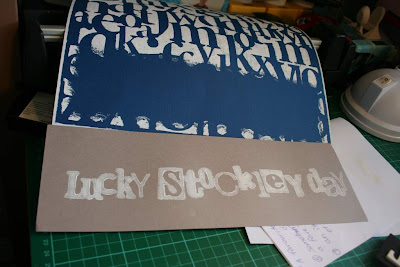
Then I stamped my title onto the LO using the same snow cap paint as I used for my background.
I am not fussy about measuring my mats and such for LO’s preferring a quick and easy eyeball method. This hasn’t always worked out so I was pleased to find this ruler which I believe is used for quilters really cheap at my local emporium. I can set it for the depth I want my mat edges to be and go for it!
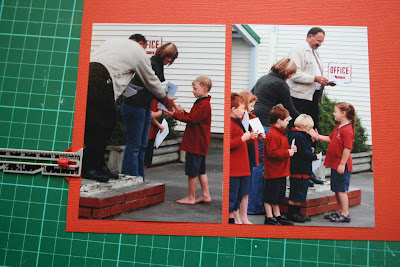
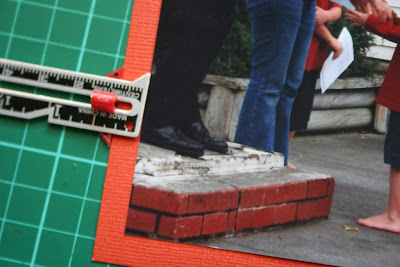
I stick my photos down and then use the ruler to line up the card in my trimmer as well.
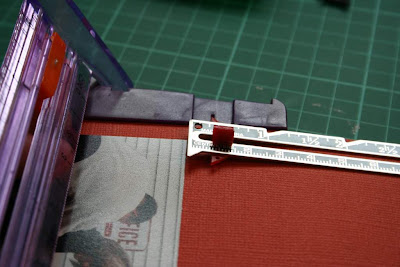
I messed around with a bunch of different placements for my photos till I came up with something I was happy with….
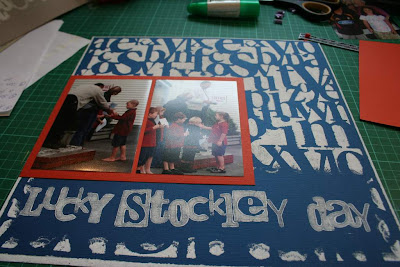
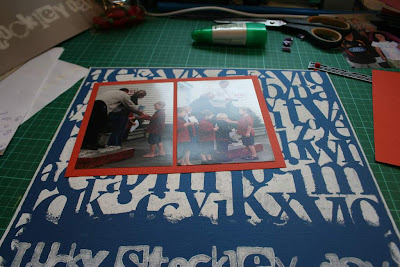
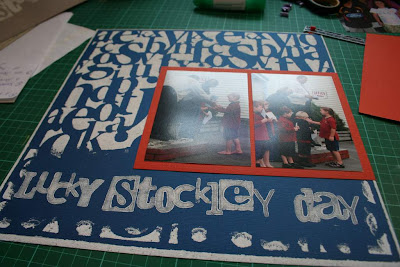
I felt like my title was a bit floaty in that space so I carefully laid down the mask and painted in closer to get it a little more grounded. After that the title lost it’s punch and seemed to blend into the back ground so I added the Fired Brick Stickles to give it a bit of ‘ooomph’ and match my mat/journaling cardstock.
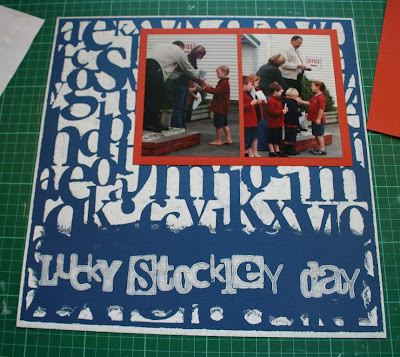
I added a journaling block and another small piece of cardstock on the opposite side to my photos to balance up the LO a bit and draw some more attention to my photos. Not my best LO but an effective use of the masking technique.
 ♥
♥

 I haven't provided measurements as you can do whatever you want size wise....
 3. Choose a spot on a side where you have a decent gap between two ribbons and then stitch around leaving that spot open.
 As you can see I used a satin on one side and fleece on the other and a mix of satin and a more woven textured ribbon- some fat and some thinner- I wanted Kellan and his tounge and gums to have some different feelings from the 'tags' and also the skinny ribbons are a bit harder to manipulate.
 The look of sadness on Kieran's face when it saw it was classic- he thought I had butchered one of his cushions!
 I could see these being a go-to baby gift- easy to make personalised, quick to make and cheap- and a great way to use up ribbon brought with poor judgement for scrapbooking (duh!).


